
Production Workflow
Staging Multi-Character Dialogue with AI: Over-the-Shoulder Shots and Continuity
Solve multi-character identity blending in AI video dialogue using classic shot-reverse-shot coverage, over-the-shoulder framing, separate canvas nodes, and 180-degree eyeline matching.
On this page
- Why Putting Two Faces in One Prompt Fails: The Identity Blending Trap
- The Three-Part Coverage Rule for AI Dialogue: OTS and Reverse Angles
- Building Separate Character Nodes on the Say Action Canvas
- The 180-Degree Rule in Mobile 9:16 Storyboards: Locking Eyelines
- Exporting Clips and Aligning Dialogue in External NLEs
- Connect your own API channels and third-party relays
Why Putting Two Faces in One Prompt Fails: The Identity Blending Trap
Creators attempting their first dialogue scene in generative video often write ambitious multi-subject prompts: "A tall man in a tailored charcoal suit and a woman with red hair in an emerald silk dress arguing intensely across a dinner table." In text-to-video diffusion latent spaces, this prompt almost invariably produces catastrophic identity blending (also known as identity averaging or feature bleed). The latent representations of the two subjects cross-contaminate during the iterative denoising steps. Instead of two distinct actors with individual facial traits and sharp wardrobes, the model outputs either two figures sharing identical hybrid facial geometry, or actors whose hair color, gender, and clothing morph into each other from one frame to the next.
This issue is rooted in how cross-attention mechanisms interpret multi-subject semantic tokens without rigid spatial bounding boxes. When a single text prompt feeds multiple subject attributes (hair color A, hair color B, masculine jawline, feminine cheekbones) into the model's spatial attention layers, the weights are distributed across the entire frame canvas. If the characters move or gesture, the attention heatmaps drift across coordinates, causing the man's suit to absorb green silk textures or the woman's face to adopt masculine facial structures. Expecting any text-to-video model to reliably maintain two independent human likenesses across an extended interaction within one continuous generation remains technically unrealistic in production workflows.
The engineering solution is not piling on negative prompts or hoping for lucky generations; it is adapting proven cinematic coverage to generative tools. Instead of forcing two distinct faces into the same prompt and frame, directors deconstruct dialogue into dedicated single-character camera setups: an initial establishing relation shot, followed by alternating Over-The-Shoulder (OTS) angles and tight reaction shots. By restricting each generative node to one primary character identity, you isolate diffusion weights and eliminate identity bleed at the root.
The Three-Part Coverage Rule for AI Dialogue: OTS and Reverse Angles
Professional drama coverage breaks any two-person dialogue into four foundational camera setups that translate cleanly to generative storyboard canvases. Shot 1 establishes the physical context and relational axis: a medium or wide master two-shot where both characters appear, but with subdued facial detail and low kinetic movement, cementing their relative spatial orientation. Shot 2 transitions over Character A's shoulder onto Character B, placing the camera focus, lighting highlights, and reference identity exclusively on Character B. Shot 3 mirrors this setup in a reverse Over-the-Shoulder angle focused squarely on Character A. Shot 4 isolates reactive emotional beats in tight reaction close-ups, creating punchy vertical pacing.
The decisive engineering technique in executing Shot 2 and Shot 3 is how you prompt the out-of-focus shoulder. If your prompt specifies "Character A's back and shoulder," the diffusion model often hallucinates facial fragments, a third ear, or distorted hair on the back of the foreground figure. Instead, use an explicit photographic abstraction: over-the-shoulder shot, out-of-focus dark foreground shoulder silhouette in lower corner, sharp focus on [Character B]. By treating the foreground person as an anonymous optical element rather than a rendered subject, it helps the model focus on the visible face of the conversing actor in focus.
Shot 4 (the reaction close-up) is the secret weapon of vertical mobile drama. Because vertical 9:16 framing is inherently portrait-oriented, reaction shots pack immense psychological intensity into phone screens. A 2-second clip of Character A clenching their jaw or swallowing in shock avoids competing subjects, helping preserve facial fidelity and detail. Furthermore, when taking your footage into an editor, reaction shots serve as invaluable narrative sponges—allowing you to cover audio edits, shorten awkward pauses, or conceal slight continuity mismatches between adjacent lines of dialogue.
| Shot Type | Framing & Focus | Prompt Specification | Reference Binding |
|---|---|---|---|
| Master Two-Shot | Medium shot (waist-up), both characters visible across table | Static locked-off shot, eye level, neutral lighting, conversational distance | No single-character lock; use scene moodboard or text prompt only |
| Over-the-Shoulder B | OTS tight framing, Character B in sharp focus facing screen-left | Looking slightly left of lens; Character A is a soft dark foreground shoulder silhouette | Character B multi-angle reference node connected to video input |
| Reverse OTS A | Reverse OTS framing, Character A in sharp focus facing screen-right | Looking slightly right of lens; Character B is a soft dark foreground shoulder silhouette | Character A multi-angle reference node connected to video input |
| Reaction Close-Up | Tight single close-up, listening/reacting subject filling 9:16 frame | Subtle breathing micro-expression, locked-off static or slight slow dolly-in | Single character reference node plus high-resolution neutral keyframe |
Workflow structure based on Say Action canvas node binding and classical shot-reverse-shot cinematography; verified for mobile 9:16 vertical video.
Building Separate Character Nodes on the Say Action Canvas
Putting this multi-shot dialogue workflow into practice on the Say Action infinite canvas requires a structured node layout. First, establish two dedicated Character Reference Nodes on the workspace: one for Character A and one for Character B. Each character node should house verified visual anchors—ideally a clean front-facing portrait (0° neutral expression) and a three-quarter angle (45°) showing hair and facial structure. You can generate these initial anchors using image nodes (such as Nano Banana) or upload authorized pre-production concept art. Keeping character visual data stored in isolated canvas nodes guarantees that their prompt seeds and facial embeddings never intermingle before video rendering begins.
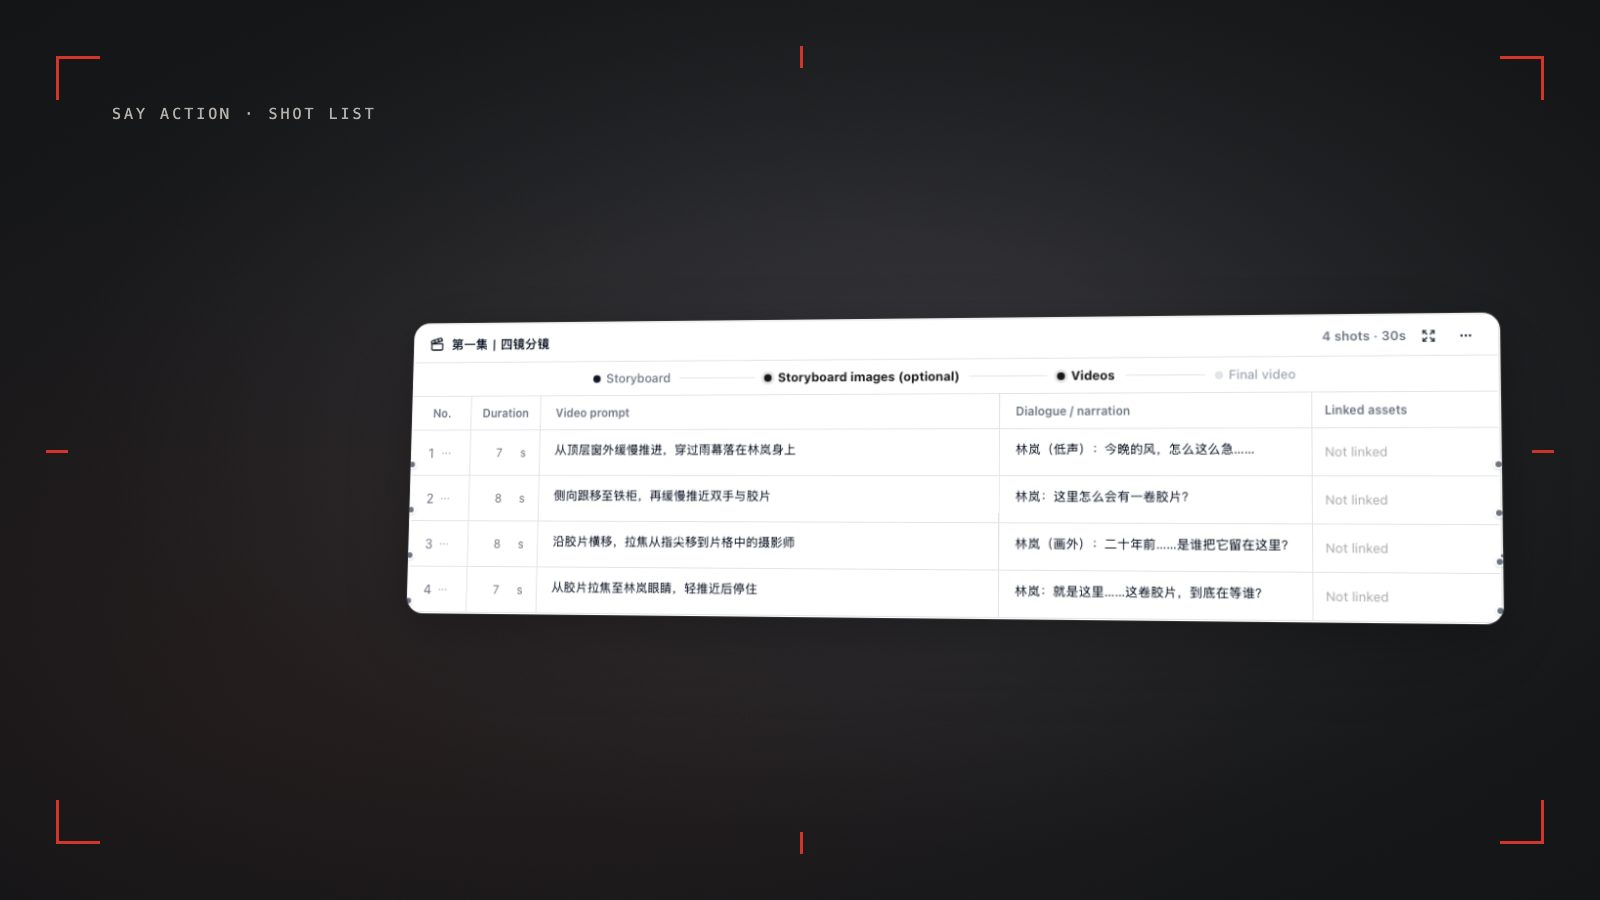
Next, convert your script into an editable storyboard table using the script node. Break the scene into alternating rows corresponding to your 4-shot coverage plan. When generating video for Row 2 (Shot 2: OTS on Character B), draw a connection wire solely from Character B's reference node into the video node's input slot, choosing a video model such as Seedance 2.5 or MiniMax H3. For Row 3 (Shot 3: Reverse OTS on Character A), draw a wire solely from Character A's reference node. Keep individual shot durations tight—typically 2 to 4 seconds. Generating short, modular clips prevents model drift while giving you exact control over each character's eye line and facial reactions.
This decoupled node architecture provides critical iteration safety and cost control. If Shot 3 exhibits unnatural head rotation, you can modify its motion prompt and regenerate that single video node without touching the approved clips for Shot 1, 2, or 4. Credit consumption is calculated per shot based on your selected resolution and duration, with estimated costs displayed before submission. Platform billing and refund guarantees follow explicit product boundaries: When the upstream explicitly reports failure, reserved credits are refunded; tasks with unclear network status stay pending review to avoid double settlement. See available models, resolutions, and estimated credits on the creation page. The final credit charge is shown before you submit. The service fee covers the workspace, not model usage. Provider API charges are separate.
The 180-Degree Rule in Mobile 9:16 Storyboards: Locking Eyelines
In conventional widescreen filmmaking, crossing the 180-degree imaginary line (an "axis jump") causes spatial disorientation. In vertical 9:16 video, an axis jump is far more destructive. Because mobile screens are narrow, conversational partners are framed in tight proximity, and viewers rely heavily on consistent horizontal eyelines to track who is speaking to whom. If Character A looks to the right in Shot 2, but Character B also looks to the right in Shot 3, the illusion collapses instantly: to the viewer's brain, both actors appear to be staring in the same direction rather than making eye contact.
To maintain bulletproof eyelines across generative shots, enforce explicit gaze prompts in every storyboard row. Establish the imaginary line on one side of the conversation and lock your camera setups to that side. In Say Action's shot table, standardize your prompt syntax: for Character A, specify eye level, facing screen-right, gaze directed slightly right of camera toward off-screen listener; for Character B, specify eye level, facing screen-left, gaze directed slightly left of camera toward off-screen speaker. Specifying "slightly off-lens" rather than "profile 90 degrees" ensures actors engage the audience while preserving realistic dialogue geometry.
Equally critical is camera motion discipline. In high-action sequences, rapid tracking or sweeping crane shots can look spectacular, but in dialogue scenes, erratic virtual cameras destroy spatial anchors. Avoid complex motion prompts like "orbit around subject" or "fast rotational pan" in OTS shots, as diffusion models frequently invert screen coordinates mid-shot during orbital maneuvers. Stick to disciplined cinematic movements: a locked-off static tripod camera (locked-off tripod shot) or a very slow, micro push-in (slow subtle dolly-in, 0.5x speed) that emphasizes emotional tension without shifting the visual axis.
Exporting Clips and Aligning Dialogue in External NLEs
Once your dialogue shots are generated on the Say Action canvas, transition to post-production through organized asset handling. Utilize Say Action's local-first export capabilities to save generated MP4 clips directly into a structured project directory on your local filesystem. Adopt strict naming conventions reflecting scene and shot numbers: Scene03_Shot01_Master, Scene03_Shot02_OTS_CharB, Scene03_Shot03_Reverse_CharA, and Scene03_Shot04_Reaction_CharA. Keeping clips systematically named and locally stored ensures that your non-linear editor (such as CapCut, Adobe Premiere, or DaVinci Resolve) can import the sequence without missing asset relinking errors.
On your editing timeline, assemble the dialogue using classical J-cut and L-cut audio splits. Rather than cutting audio and video simultaneously on hard boundaries, let Character A's voiceover begin a split-second before cutting to Character A's face, or let their spoken line linger over Character B's reaction close-up. In vertical mobile micro-drama, rapid dialogue pacing (cutting every 1.5 to 3.0 seconds) keeps viewer retention high. Reaction shots serve as seamless bridges: if an AI video clip has a minor mouth movement anomaly at the very end of a sentence, cut away early to the listener's reaction while letting the dialogue finish cleanly on the audio track.
Finally, decouple visual performance from external audio synchronization. While Say Action specializes in script breakdown, keyframe generation, and multi-model video rendering, final voice delivery is completed by combining recorded voice tracks, voiceovers, or third-party lip-sync tools in post-production. If an editor finds that a particular shot lacks sufficient emotional intensity or breaks eye contact, you do not have to discard the scene: simply return to the Say Action canvas, adjust the prompt or seed in that specific row, generate a new replacement clip, and drop it straight into the existing edit timeline.
Connect your own API channels and third-party relays
In model-channel settings, enter the Base URL and API key, then configure the protocol, model IDs and required headers from your provider's documentation. Check the image and video modes you need before generating. Paths, resolutions and first/last-frame inputs depend on the connected channel. An adaptation request for an unsupported channel is not a compatibility guarantee.
BYOK supports a custom API endpoint, model key and headers. For OneAPI, NewAPI or another relay, select the OpenAI, Gemini or Claude protocol that matches its actual API, then check model IDs and image/video endpoint support. Not every relay or private protocol works automatically. BYOK model calls have no platform model markup or platform generation-credit deduction; workspace access and provider usage are still billed separately.
Connect only trusted providers and use HTTPS in production. Custom requests are forwarded through the authenticated backend; required prompts, reference assets and credentials take part in the request. Never put API keys, passwords or secret-bearing headers in public canvases, screenshots or support requests.
Frequently asked questions
Can I generate two people conversing continuously in a single 15-second clip?
It is strongly discouraged. Generating two interacting characters in one prolonged AI video clip leads to severe facial drift and identity averaging. The proven industry workflow is breaking the conversation into 2- to 4-second single-character shots (shot-reverse-shot) and cutting them together in an external editor.
How do I ensure the out-of-focus shoulder in an OTS shot doesn't morph?
In your prompt, define the foreground figure strictly as an optical silhouette, such as "blurred dark foreground shoulder out of focus in corner." Treating the foreground character as an abstract shape prevents the diffusion model from attempting to synthesize detailed facial or bodily features on it.
What should I do if the AI switches character eyelines across cuts?
Specify the exact gaze direction in the prompt column of your storyboard row (for example, "eye level, facing screen-right toward conversational partner"). If a specific cut drifts, regenerate only that single video node on the canvas rather than rebuilding the entire sequence.
Does Say Action automatically lip-sync character voices?
Say Action focuses on script breakdown, storyboard organization, keyframe generation, and multi-model video generation. For final voice and lip synchronization, export your generated video clips to external editing software (such as CapCut or Premiere) to align with audio tracks, or use dedicated lip-sync tools as part of your post-production workflow.
Can I connect OneAPI, NewAPI and custom headers?
BYOK supports a custom API endpoint, model key and headers. For OneAPI, NewAPI or another relay, select the OpenAI, Gemini or Claude protocol that matches its actual API, then check model IDs and image/video endpoint support. Not every relay or private protocol works automatically. BYOK model calls have no platform model markup or platform generation-credit deduction; workspace access and provider usage are still billed separately.